How to remove ticks from dog? A step by step guide

As a responsible dog owner, dealing with ticks is an inevitable part of pet care, especially during the warmer months. These pesky parasites can latch onto your furry friend's skin and transmit dangerous diseases like Lyme disease, Rocky Mountain spotted fever, and ehrlichiosis. Therefore, it's crucial to learn how to remove ticks from dogs promptly and safely to protect your pet's health and well-being.
In this comprehensive guide, we'll walk you through the step-by-step process of tick removal, provide tips for preventing future infestations, and address common concerns related to ticks on dogs.
Why Prompt Tick Removal is Essential
Removing ticks from dogs as soon as possible is crucial for several reasons:
- Disease Prevention: Ticks can transmit various illnesses to dogs, some of which can be life-threatening if left untreated.
- Reduced Risk of Skin Irritation: Leaving ticks attached to your dog's skin for an extended period can cause irritation, inflammation, and discomfort.
- Prevention of Blood Loss: Ticks feed on your dog's blood, and prolonged attachment can lead to anemia, especially in puppies or small dogs.
- Reduced Risk of Secondary Infections: Removing ticks promptly minimizes the risk of secondary infections at the bite site.
How to remove ticks from dogs?
Proper tick removal requires patience, care, and the right tools. Here's a step-by-step guide to safely and effectively remove ticks from dogs:
Gather Your Supplies: You'll need fine-tipped tweezers or a tick removal tool specifically designed for pets, rubbing alcohol, antiseptic wipes or spray, and a sealed container or ziplock bag.
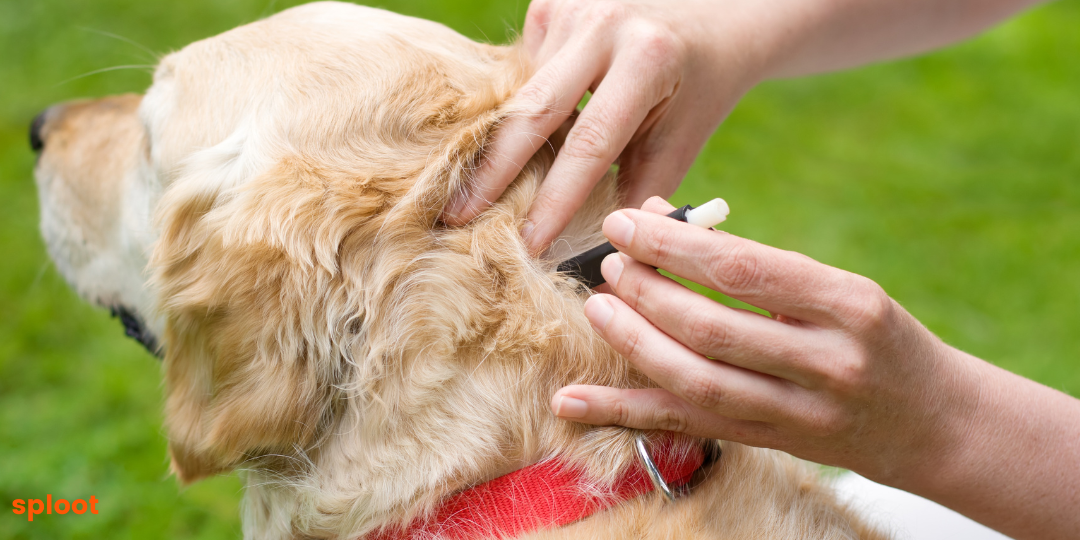
Locate the Tick: Carefully inspect your dog's body, paying close attention to areas like the ears, between the toes, around the neck, and under the armpits, where ticks often attach.
Prepare for Removal: Wear gloves if you prefer, and gently part your dog's fur to expose the tick's body and the area where it's attached to the skin.
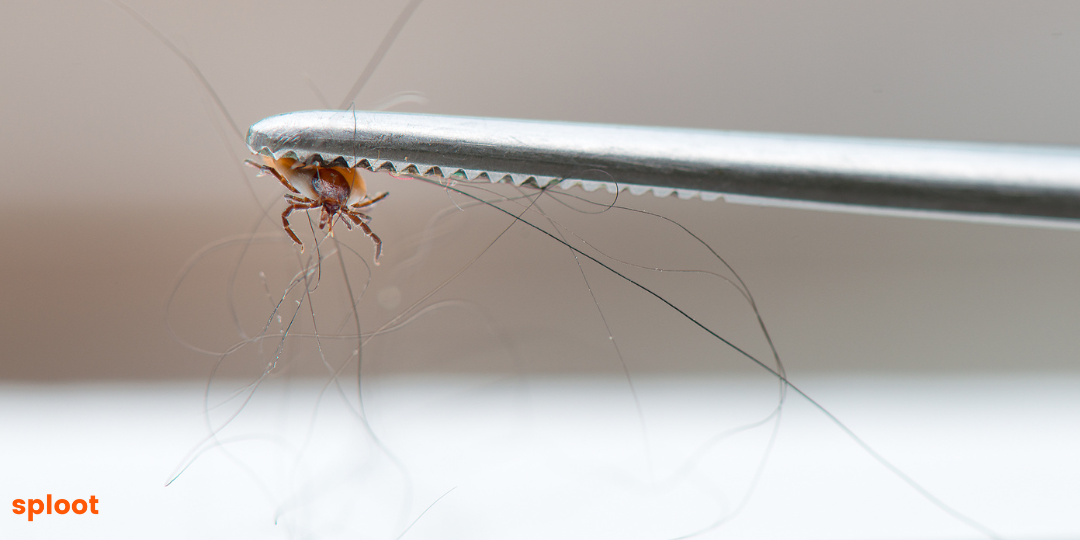
Grasp the Tick Properly: Using fine-tipped tweezers or a tick removal tool, grasp the tick as close to your dog's skin as possible, taking care not to squeeze or twist the tick's body.
Remove the Tick: With a gentle, steady pull, remove the tick from your dog's skin. Avoid jerking or twisting motions, as this can cause the tick's mouthparts to break off and remain embedded in your dog's skin.
Dispose of the Tick Safely: After removal, place the tick in a sealed container or ziplock bag, and dispose of it properly. Avoid crushing the tick with your bare hands.
Clean the Bite Area: Use antiseptic wipes or spray to clean the bite site and surrounding area thoroughly to prevent infection.
Monitor Your Dog: Keep an eye on the bite area for any signs of infection, such as redness, swelling, or discharge. If you notice any concerning symptoms, consult your veterinarian immediately.

Tips for Effective Dog Tick Removal
Here are some additional tips to ensure safe and successful tick removal:
- Use Fine-Tipped Tweezers or a Tick Removal Tool: These tools are designed to grasp the tick securely and minimize the risk of leaving mouthparts behind.
- Avoid Home Remedies: Refrain from using petroleum jelly, nail polish remover, or other home remedies to remove ticks, as these methods can be ineffective and potentially harm your dog.
- Don't Crush the Tick: Crushing the tick during removal can increase the risk of disease transmission, as infected fluids may be released onto your dog's skin.
Preventing Future Tick Infestations
While tick removal is essential, prevention is key to minimizing your dog's exposure to these parasites. Here are some effective strategies for preventing tick infestations:
Use Tick Prevention Products: Consult your veterinarian about safe and effective tick prevention products, such as spot-on treatments, collars, or oral medications.
Check Your Dog Regularly: After outdoor activities, thoroughly check your dog's body for ticks, paying special attention to areas where ticks commonly attach.
Maintain Your Yard: Keep your yard well-trimmed and clear of leaf litter, tall grass, and brush, where ticks thrive.
Treat Your Yard: Consider treating your yard with tick control products, such as sprays or granules, following the manufacturer's instructions carefully.
Be Cautious in High-Risk Areas: When hiking or exploring wooded areas, stay on marked trails and avoid areas with tall grass or dense vegetation.
Addressing Common Concerns
As a responsible pet owner, you may have some concerns or questions regarding tick removal and prevention. Here are some common concerns and their solutions:
What if the tick's head gets stuck in my dog's skin?
If a tick's mouthparts remain embedded in your dog's skin after removal, try to remove them with tweezers. If unsuccessful, consult your veterinarian, as they may need to remove the remaining parts and monitor for potential infection.
How long should I monitor the bite area after tick removal?
Monitor the bite area for at least a week or two after tick removal, watching for signs of infection, such as redness, swelling, or discharge.
Can I remove ticks from my dog's ears?
Yes, but exercise extra caution when removing ticks from sensitive areas like the ears. Use a tick removal tool or fine-tipped tweezers and avoid twisting or jerking movements.
What should I do if my dog develops symptoms after a tick bite?
If your dog exhibits symptoms like lethargy, fever, loss of appetite, or lameness after a tick bite, contact your veterinarian immediately, as these could be signs of a tick-borne illness.
By following these guidelines for safe and effective tick removal, combined with preventive measures, you can protect your beloved canine companion from the potential risks associated with tick infestations. Remember, prompt action and vigilance are key to ensuring your dog's health and well-being when it comes to dealing with these pesky parasites.