How to Safely Clean Your Dog's Ears During Grooming

Cleaning your dog's ears during grooming is an essential part of their hygiene routine. Regular ear cleaning helps prevent infections and discomfort for your furry friend. Here's a step-by-step guide on how to safely clean your dog's ears:
- Gather Supplies
Before you begin, make sure you have all the necessary supplies:
Ear cleaner: Purchase a veterinarian-recommended ear cleaner specifically designed for dogs. Avoid using alcohol or hydrogen peroxide, as these can be harsh and may cause irritation.
Cotton balls or pads: Use these to apply the ear cleaner and gently wipe away dirt and debris.
Treats or rewards: Having some treats on hand can make the experience more pleasant for your dog and help create positive associations with ear cleaning.
- Prepare Your Dog
Choose a calm and quiet environment for ear cleaning to minimize distractions and stress for your dog.
Gently reassure and pet your dog to help them relax. If your dog is particularly anxious about ear cleaning, consider having someone else hold or distract them with treats.
- Examine the Ears
Before you start cleaning, take a moment to inspect your dog's ears for any signs of infection or other issues. Look for:
- Redness
- Swelling
- Excessive wax buildup
- Foul odor
- Discharge
- Scratching or pawing at the ears
If you notice any of these symptoms, consult your veterinarian before attempting to clean your dog's ears. Ear problems may require specific treatments that a vet can provide.
- Apply Ear Cleaner
Follow the instructions on the ear cleaner product you have chosen. Typically, you'll need to tilt your dog's head slightly to one side (the ear you're working on) and gently lift the ear flap.
Insert the tip of the ear cleaner into the ear canal, being careful not to push it in too far. Squeeze the recommended amount of cleaner into the ear canal.
Gently massage the base of your dog's ear for about 20-30 seconds. This will help distribute the cleaner and loosen any dirt or debris.
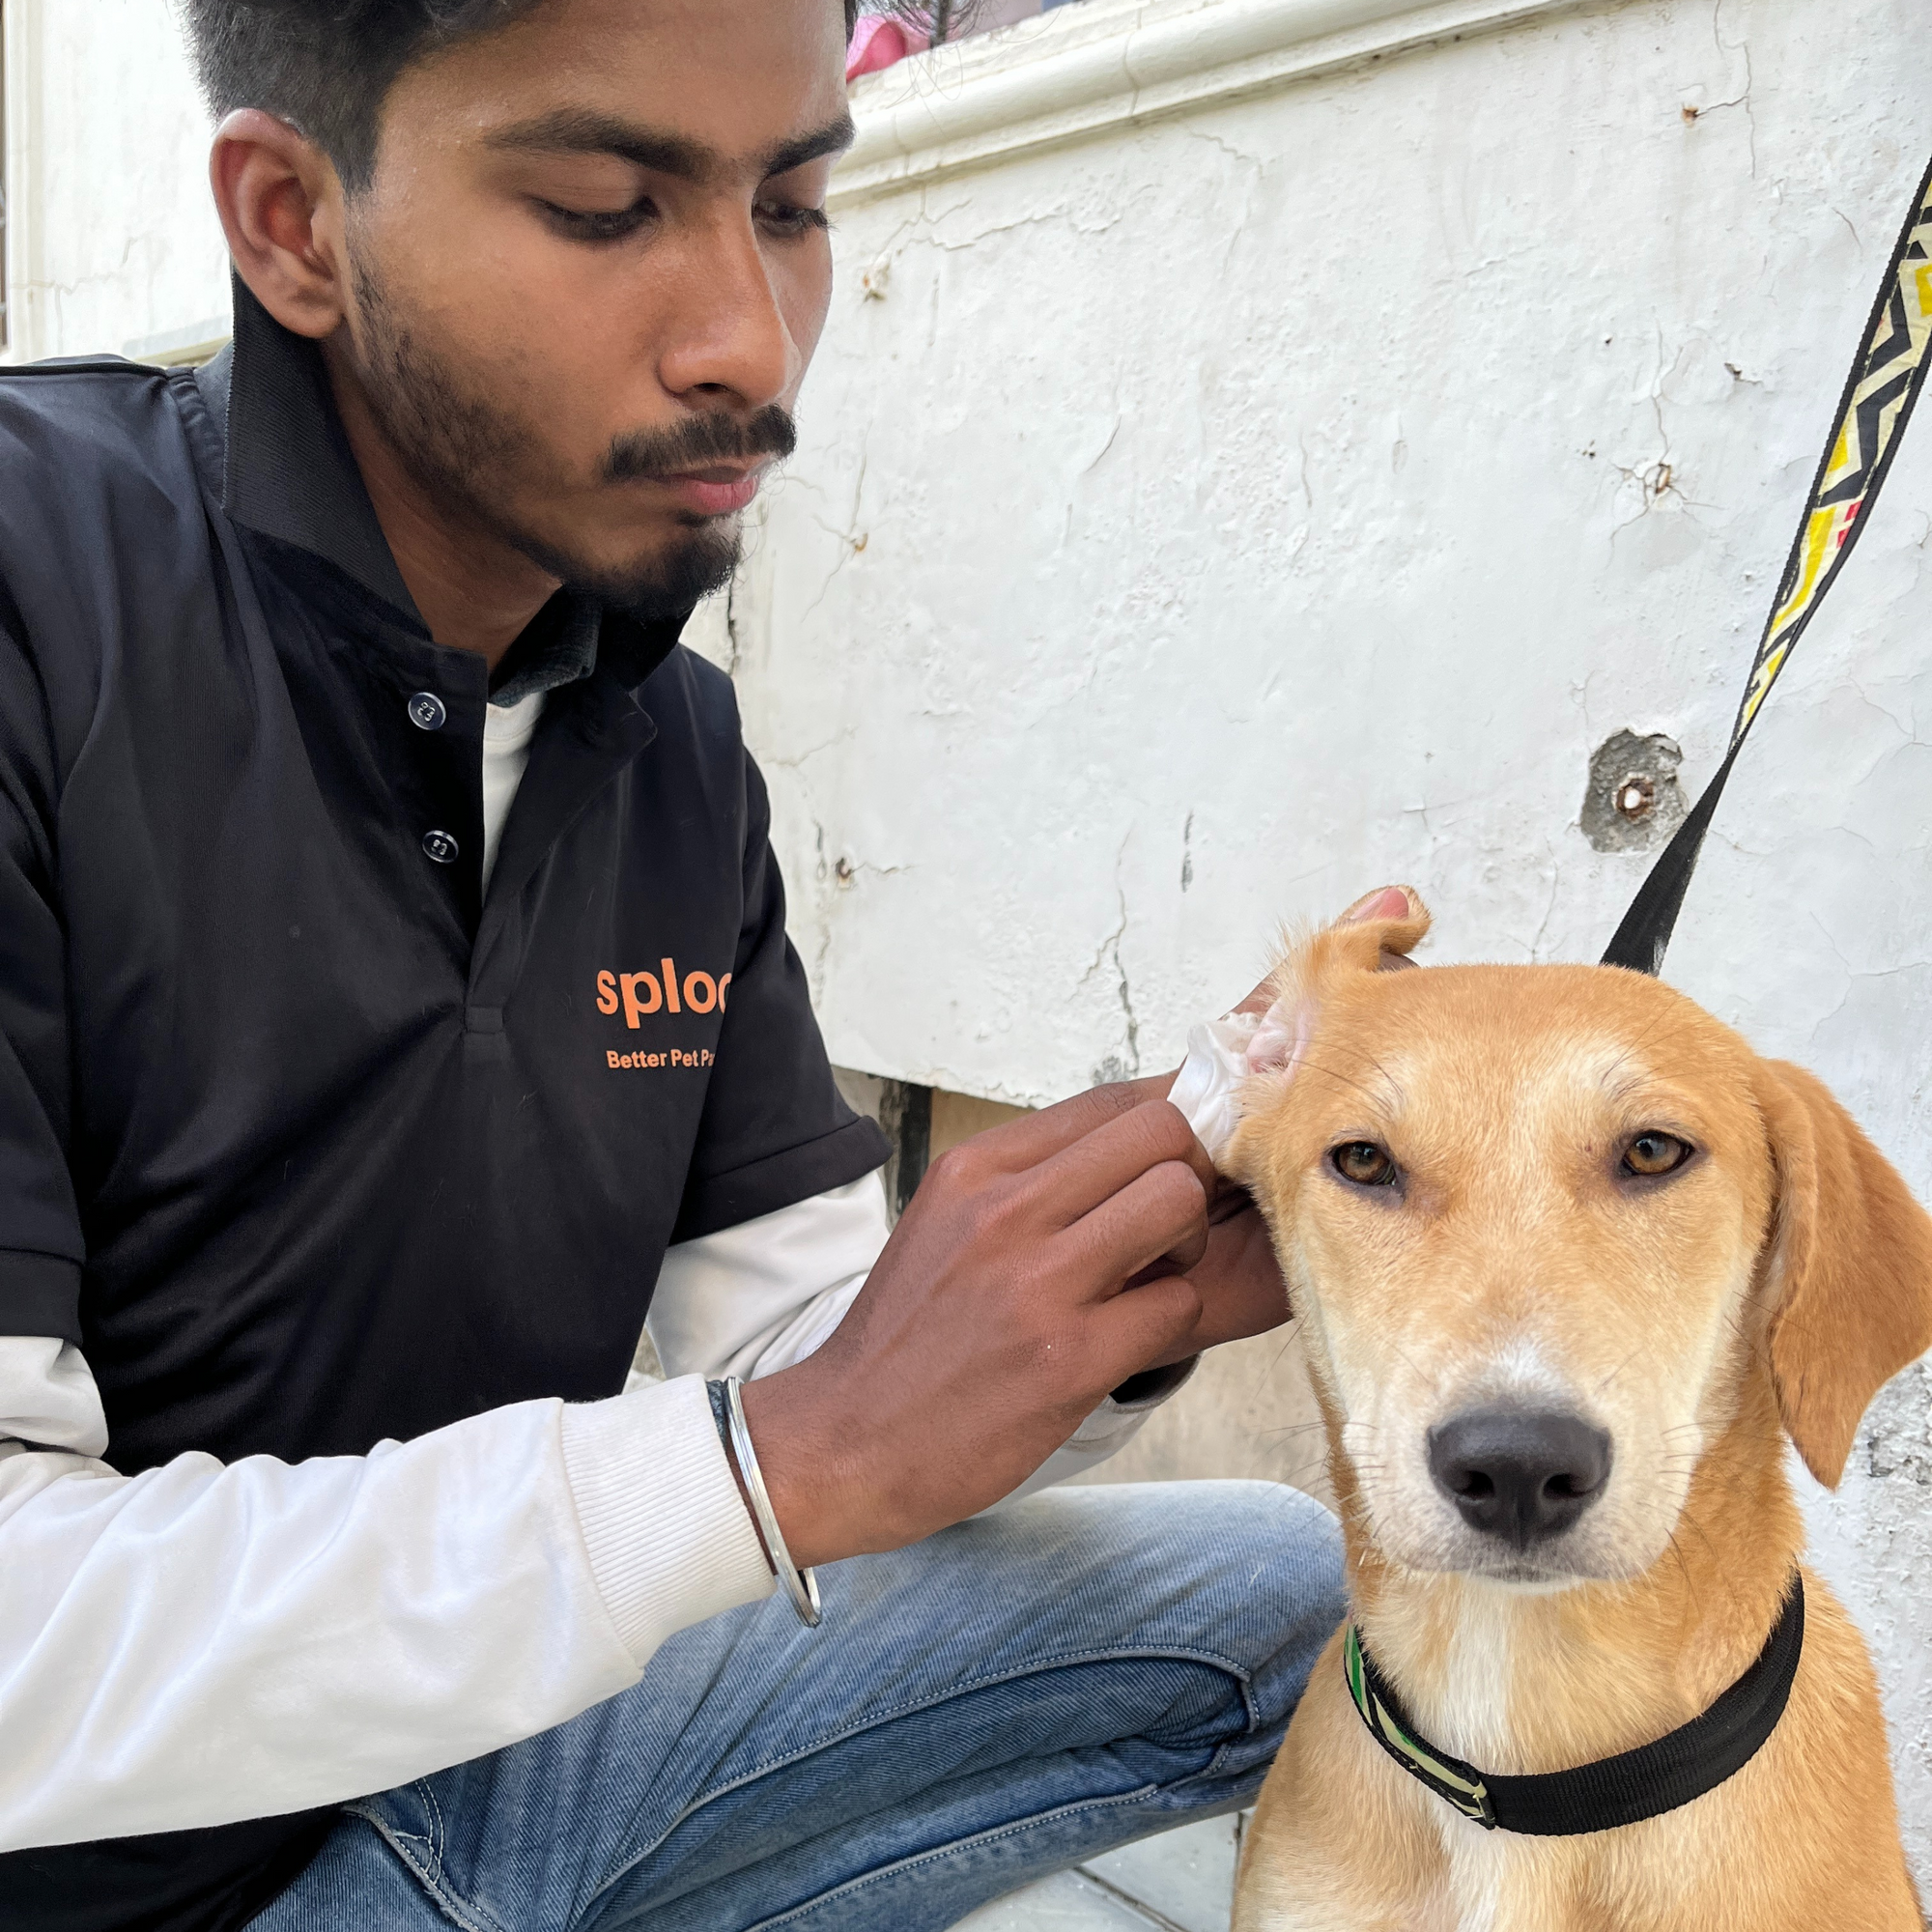
- Wipe Away Debris
After massaging, allow your dog to shake their head. This helps dislodge any loosened debris.
Use a cotton ball or pad to gently wipe away the excess ear cleaner and any dirt or wax that comes out. Avoid using cotton swabs, as they can push debris further into the ear canal and potentially damage the eardrum.
Be gentle and do not insert the cotton ball too deeply into the ear canal. Clean only what you can see.
- Reward and Praise
After cleaning, reward your dog with treats and praise to create a positive association with ear cleaning.
Repeat the process for the other ear if necessary.
- Regular Maintenance
How often you clean your dog's ears depends on their breed and individual needs. Some dogs may require more frequent cleaning than others. Consult your veterinarian for guidance on an appropriate ear cleaning schedule.
Remember that some dogs are more sensitive about having their ears handled than others. If your dog resists or becomes anxious during ear cleaning, it's essential to be patient and gentle. If you ever notice signs of pain or discomfort, stop the cleaning process immediately and consult your veterinarian for further evaluation. Proper ear cleaning is an important aspect of grooming that contributes to your dog's overall health and well-being.
If you would like to read more such blogs, download the sploot app here - the one stop shop for all things pet parenting.
